Imaging a Failing Drive
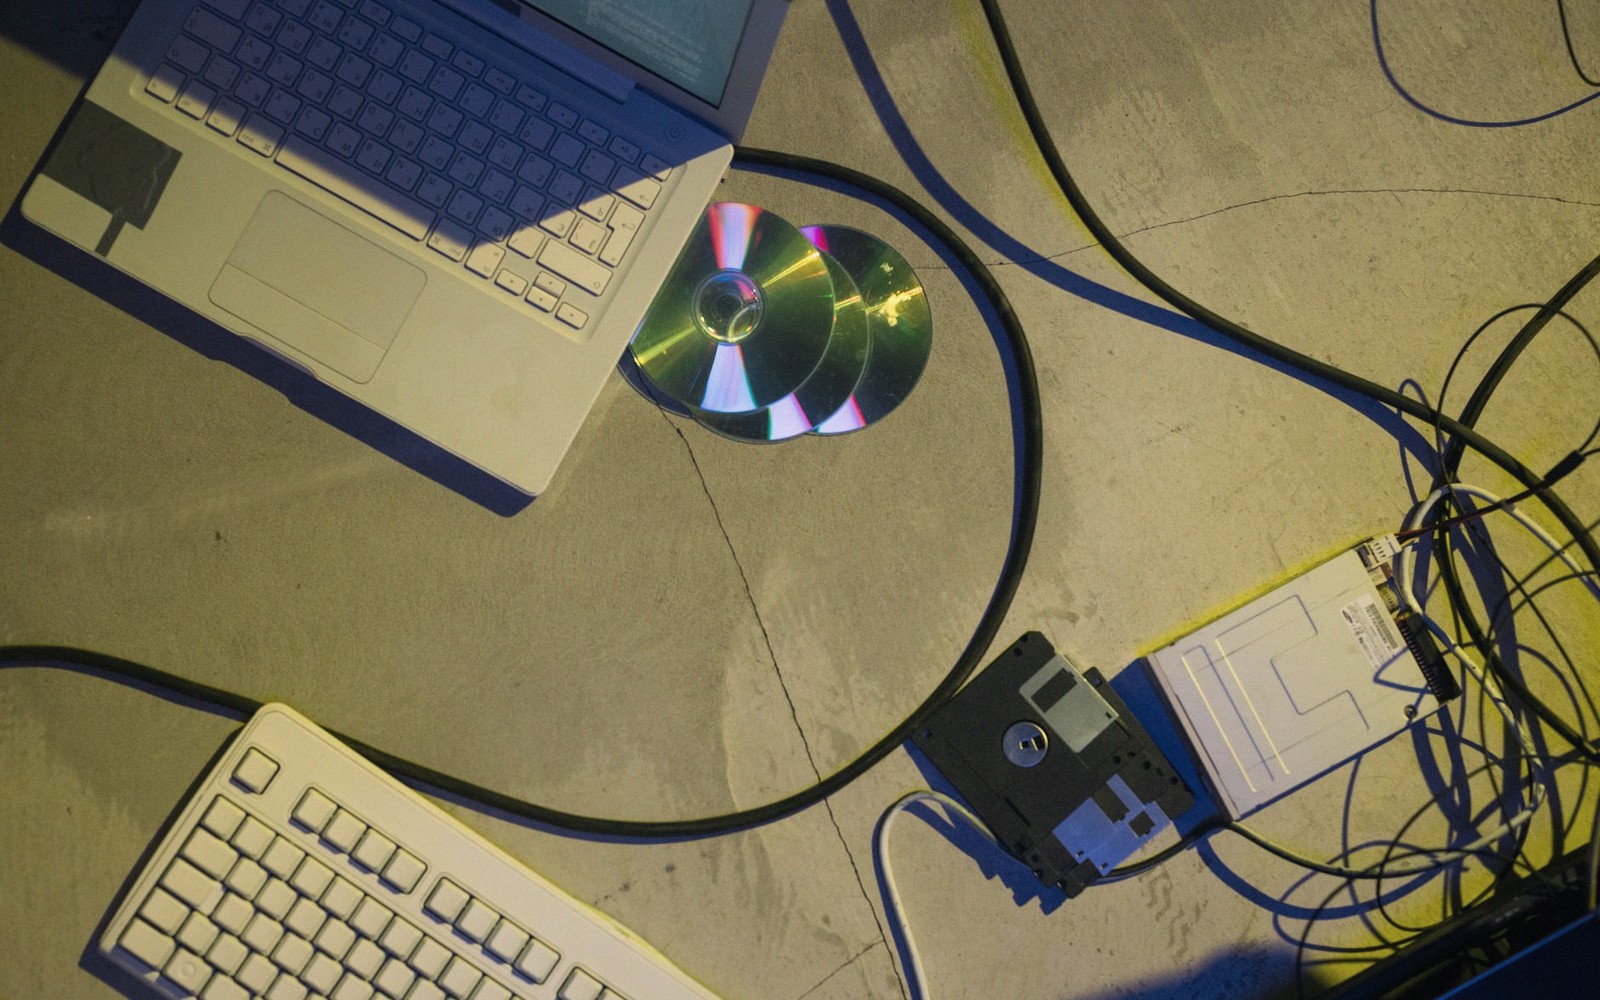
Why you copy the whole thing before you try to read any of it.
01Get the whole thing before you try to read any of it
Before you attempt a single file recovery, before you run a repair tool, before you so much as browse the directory tree — you make a sector-by-sector copy of the failing drive. Not a folder copy. Not a drag-and-drop. A full forensic image of every byte on the disk, in order, regardless of whether the file system thinks it is allocated. Then you put the original somewhere it will not be touched, and you work entirely from the copy. That sequence is not a suggestion. It is the reason recoveries succeed or fail.
02Why imaging comes before everything else
A drive that is failing is, in a very real sense, spending itself. Every read operation costs it something — a little more heat, a little more stress on a head that may already be borderline, a few more retries from a controller that is already struggling. When you open a file browser on a damaged volume, your operating system does not politely read just the file you can see. It reads the directory structure, resolves metadata, follows pointers, updates access timestamps, and issues dozens of random seeks that have nothing to do with what you actually want. Each of those seeks is a lottery on a drive that has already shown it can lose.
More critically, most recoveries take more than one pass. You find the file, the file is corrupt, you try a different tool, you try a different approach. Every pass over the original disk burns more of whatever is left. By the time you realise the drive is getting worse — and a drive that is clicking or retrying is already in the danger zone — it may have degraded past the point where even a professional lab can help. The image freezes the problem at the moment you started. Every subsequent attempt costs you nothing, because you are working from a copy on a healthy disk.
There is a second reason that has nothing to do with the drive's health. Repair tools modify things. fsck, chkdsk, Disk Utility — all of them write to the volume when they run. A journal gets replayed, orphaned inodes get moved, allocation tables get rewritten. If the repair works, great. If it does not — or if it makes things worse, which does happen — you have now destroyed the evidence. An image taken before any of that gives you a known-good starting point you can return to indefinitely.
| Phase | What it does |
|---|---|
| Copying | Reads the healthy areas first, fast, skipping past trouble rather than stalling on it |
| Trimming | Comes back to the edges of each bad region to recover what it can |
| Scraping | Works through the difficult sectors in small increments |
| Retrying | Repeats failed reads, as many passes as you allow |
| The map file | Records exactly what succeeded, so an interrupted run resumes instead of restarting |
Always write the map file to the destination, not the source. A resumable image is the difference between one good session and none.
03How the imaging process actually works
The tool of choice in serious recovery work is ddrescue, the GNU version developed by Antonio Diaz Díaz. Unlike the classic Unix dd, ddrescue is built for damaged media: it reads forward through the good areas first, logs exactly which sectors it successfully copied and which it could not, and then makes further passes over the bad regions rather than stopping or corrupting the output when it hits an error. You end up with an image file and a log file. The log file is important — on a second or third pass, ddrescue picks up exactly where it left off, so you are not wasting the drive's remaining life re-reading sectors it already got.
The output is a raw image file — typically with a .img extension — that is a bit-for-bit copy of everything on the disk: the partition table, every file system structure, every allocated and unallocated sector. On Linux and macOS you can mount that image as a loop device and browse it without touching the original at all. On Windows, tools that understand raw images can work with it directly.
A few practical points. Write the image to a destination that is completely separate from the source — a second internal drive, an external drive, a NAS — never to another partition on the same physical disk. Make sure the destination has more free space than the full size of the failing drive; a partial image is not useful. If the failing disk is making noises or showing high reallocated sector counts in its SMART data, work fast and keep passes short — a drive that is genuinely dying may not give you many hours.
A journal gets replayed, orphaned inodes get moved, allocation tables get rewritten.
04What you do after the image is made
Once you have the image, put the original drive aside. Somewhere physically safe, ideally labelled with the date you pulled it. Do not reformat it, do not sell it, do not throw it away. If your image turns out to be incomplete, or if the recovery uncovers something you did not expect, the original is your last resort. In professional lab work, this is standard practice; there is no reason home users should do it differently.
Now you can examine the image, run repair tools against it, try every recovery approach you want — knowing that if you make a mistake, you can start again from the same image. That freedom is the whole point. The image does not guarantee you will recover everything. But it gives you as many attempts as you need, and it stops the clock on the damage while you figure out your next move.
Notes from the bench
- [1]
A destination at least as large as the source, and nothing else running on the bus. Patience is part of the tooling. ↩