The First Thing to Do When a Drive Starts Clicking
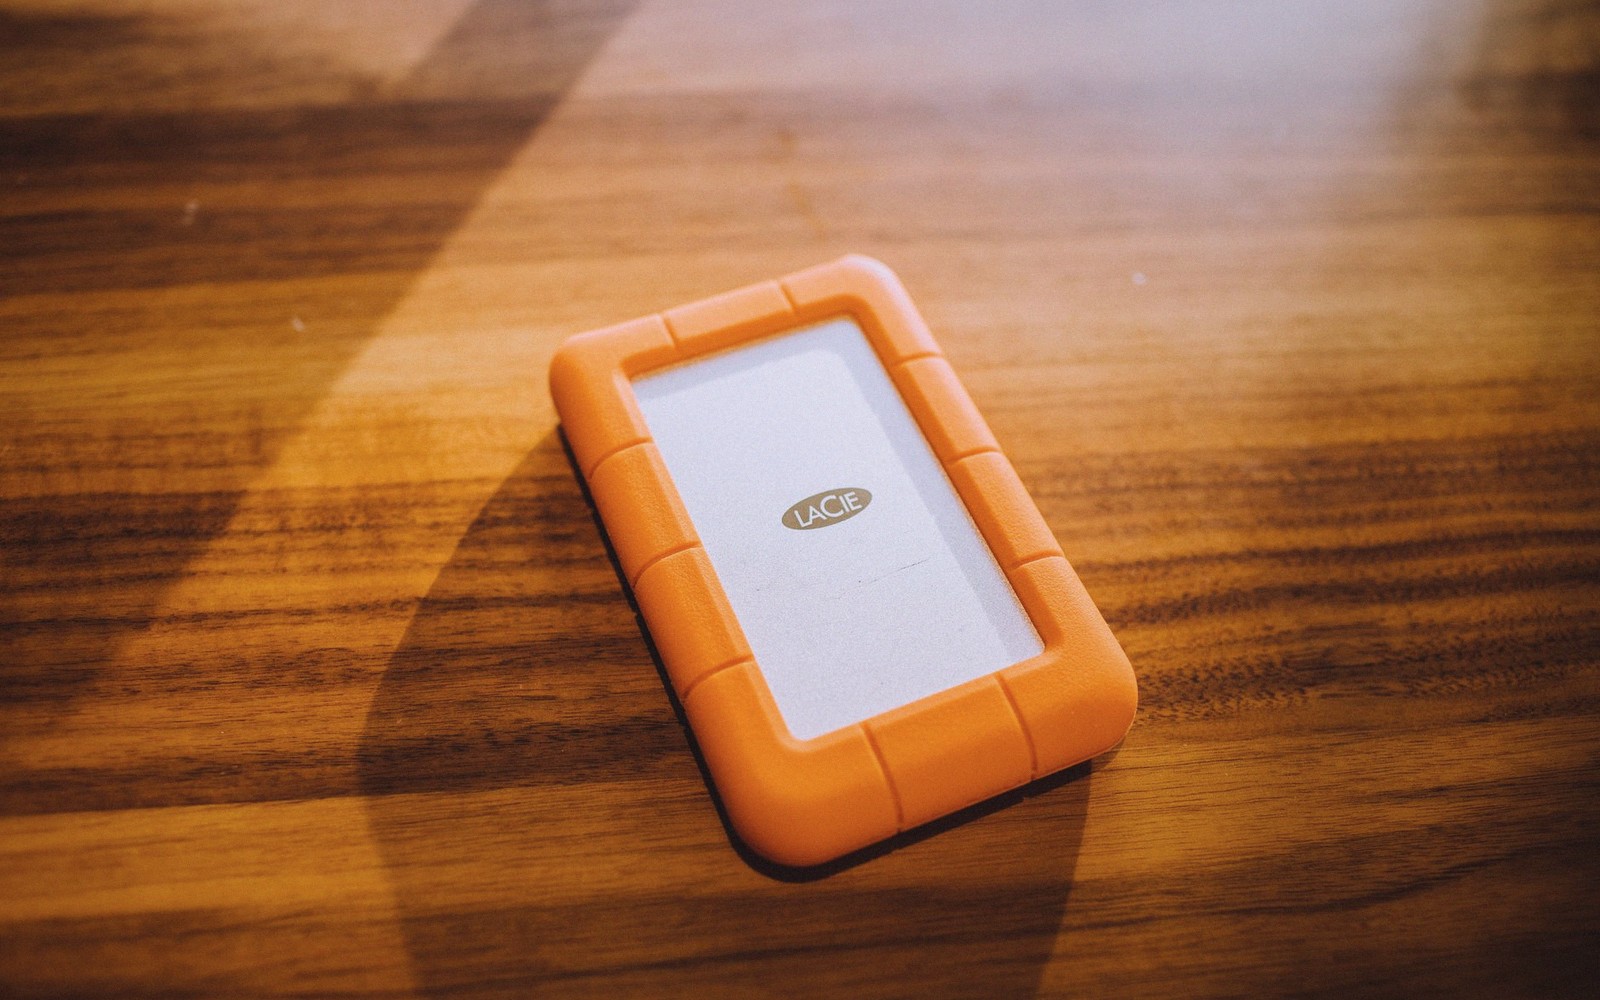
A clicking drive is a drive that is destroying itself. The next thing you do — right now, before anything else — determines whether you lose a folder or lose everything.
01What that sound actually means
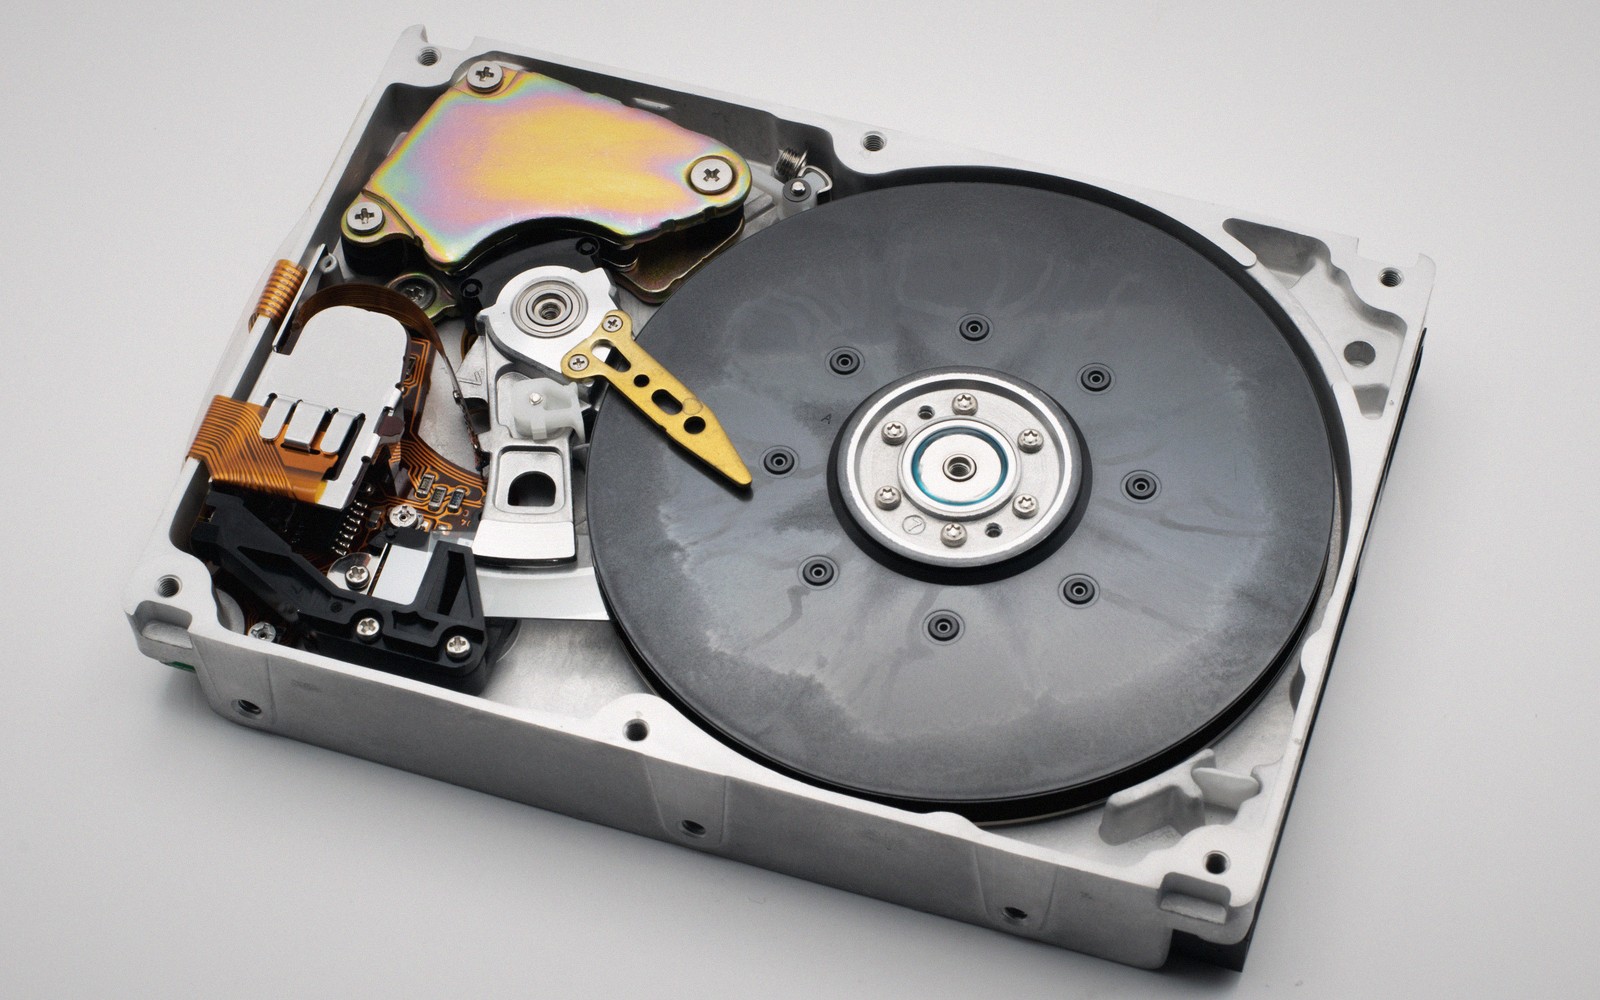
A hard drive's read/write heads float on a film of air generated by the spinning platters, never quite touching the surface. When the drive is healthy, they move smoothly across that surface under the direction of the voice-coil actuator — a fast, quiet sweep you don't notice. Clicking is what happens when that mechanism breaks down. The heads are failing to find a reference point, so the firmware orders them back to the resting position — the park ramp at the edge of the platter — and tries again. And again. That repetitive seek-and-retract cycle is the click.[1]
There are a few variations. A single sharp click followed by spin-down usually means the heads couldn't load at all: the drive powers up, tries once, gives up. A rhythmic, metronomic click repeating every second or two is the classic recalibration loop — the drive is seeking the servo tracks that tell it where it is and failing to read them. A rougher, grinding or scraping quality underneath the click is the worst sign of all: the head-to-disk clearance has collapsed and contact is being made. Each revolution is removing material. The noises a drive makes tell you something specific; none of them tell you to keep working.
The important thing to understand is that the act of continuing to run the drive — even just leaving it powered on and idle — makes the situation worse. Every revolution increases wear. Every retry risks further head damage. Every minute the drive stays powered up is a minute you are spending your remaining read attempts on nothing.
02Stop, then image — in that order, not the other way around
The moment you recognise the sound, the protocol is the same every time.
First: stop writing to the drive. If this is your system drive and you are running from it right now, the operating system is writing to it constantly — swap files, logs, thumbnails, browser caches. Shut it down. Not sleep. Off. If the clicking is on an external or secondary drive, unmount it immediately and disconnect it. The goal is to arrest the damage at whatever level it has already reached.
Second: assess what you have. Do you have a recent backup? Is there another copy of the data anywhere — a cloud sync, a second machine, an old archive drive? If the answer is yes and it is genuinely current, the drive may already be expendable. Retrieve what you need from the backup; the physical drive is a dead end. If the answer is no, or if the backup is stale, what you do next matters enormously.
Third: image the drive before you do anything else. Imaging means making a sector-by-sector copy of the entire drive onto a healthy destination — not a file copy, not a folder drag, but a raw block-level copy that captures everything including the filesystem structures, partition tables and whatever data sits in sectors your operating system currently thinks are unreadable. Only once that image exists should you attempt to mount it, run filesystem checks on it, or try to read individual files. Running repair tools on the original drive — fsck, chkdsk, macOS First Aid, anything — before imaging is a way to permanently destroy the data you are trying to save. Those tools write to the drive. They may overwrite the very sectors that hold your files.
The tool most commonly used for this job is ddrescue, part of the GNU project. Unlike a simple dd copy, ddrescue reads the healthy areas first, maps what it has recovered, and then goes back for the difficult sectors — giving you the best possible image even from a deteriorating source. It logs its progress so that if the drive fails completely mid-copy, you can resume from where you stopped rather than starting again. Running it requires a working Linux environment (a live USB is fine), a healthy destination drive at least as large as the source, and the patience to let it run without interruption. The full imaging process deserves its own careful read before you start.[2]
| # | Step | Why it is in this position |
|---|---|---|
| 01 | Stop writing to it | Every write reduces what can be recovered, including writes you did not order. |
| 02 | Power it down if it is making noise | A head touching a platter destroys more with every rotation. |
| 03 | Image the whole device | Work from a copy so that a failed attempt costs you nothing. |
| 04 | Work only from the image | Repair tools rewrite. Never point one at the original. |
| 05 | Know when to stop | If the data matters more than the fee, further attempts are the expensive mistake. |
| Image first | Repair first | |
|---|---|---|
| What you touch | A copy on a healthy disk | The only copy you have |
| If the attempt fails | Duplicate the image and try again | The damage is permanent |
| What repair tools write | Nothing, to the original | Metadata, over your files |
| If the drive dies mid-run | You keep everything already copied | You keep whatever survived the writes |
- Minute zeroThe sound starts. Stop writing — shut the machine down rather than sleeping it.
- Before anything elsePower the drive down if the noise is new, and leave it down.
- First real actionImage the whole device to a healthy destination, in one uninterrupted run.
- Only after the image existsMount the copy read-only and start looking for files.
- The moment it worsensStop. A clean-room recovery is still possible; a scraped platter is not.
03The point at which you should hand it over
There is a line between what you can do at home and what requires professional intervention, and a clicking drive is often close to that line before you even start.
If ddrescue completes cleanly — no unrecovered sectors, a full image — you are in good shape. Work from the image, do not touch the original drive again, and proceed carefully. But if the drive clicks off entirely partway through the imaging run, or if ddrescue's log fills up with unrecovered regions and the clicking grows worse rather than better, stop. Powering the drive up and down repeatedly trying to squeeze out a few more reads is how people lose the last 40 percent of a recovery.
Professional data recovery — a clean-room facility where technicians can open the drive, replace damaged heads from a donor drive, and image the platters directly — can recover data that is genuinely unreadable by any other means. It is expensive; it is also the only option once the heads have contacted the platter surface and begun abrading it. Every power cycle you attempt after that point removes more of the magnetic coating the recovery lab needs to read. The question of when to stop and pay someone is not a failure of nerve; it is risk management.[3]
The voice-coil actuator
Subject
The arm that swings the heads across the platter. When it cannot find its reference, it parks and retries — the click.
The park ramp
Subject
The plastic ledge at the platter's edge where the heads rest when idle. Every failed seek sends them back to it.
Head-to-disk clearance
Subject
The few nanometres of air between head and surface. Once it collapses, every rotation removes material a lab needs.
The tool most commonly used for this job is ddrescue, part of the GNU project.
04The mindset to take away
Clicking is not an error message. It does not give you a percentage or a deadline. It is a physical process happening inside a sealed enclosure, and unlike a software problem it does not respond well to persistence or optimism. The drives that end up unrecoverable are almost never the ones that started clicking and were immediately shut down. They are the ones that kept running while their owners tried to copy files one by one, ran a scan, restarted and tried again, and gradually worked through the remaining read budget on increasingly futile attempts.
The protocol is not complicated. Stop writing. Shut down cleanly. Image the whole drive onto a healthy destination before you look at a single file. Work from the copy. If the copy is incomplete and the drive is worsening, call a professional. That is the complete list, and the order is not negotiable.
The reason this order exists is that every action that skips a step reduces your options. An image you can work from is options. A drive you kept running until it fell silent is not.
If the drive was in water or fire, or it grinds rather than clicks, skip the DIY imaging step entirely — opening it yourself forecloses the clean-room option.
Notes from the bench
- [1]
The park ramp is a plastic ledge at the edge of the platter. Hearing the heads return to it, over and over, is the click. ↩
- [2]
Write the map file to the destination drive. An interrupted run then resumes instead of starting over. ↩
- [3]
Ask what a lab charges for an evaluation before you decide. Most quote that separately from the recovery. ↩